Tag: fireplace

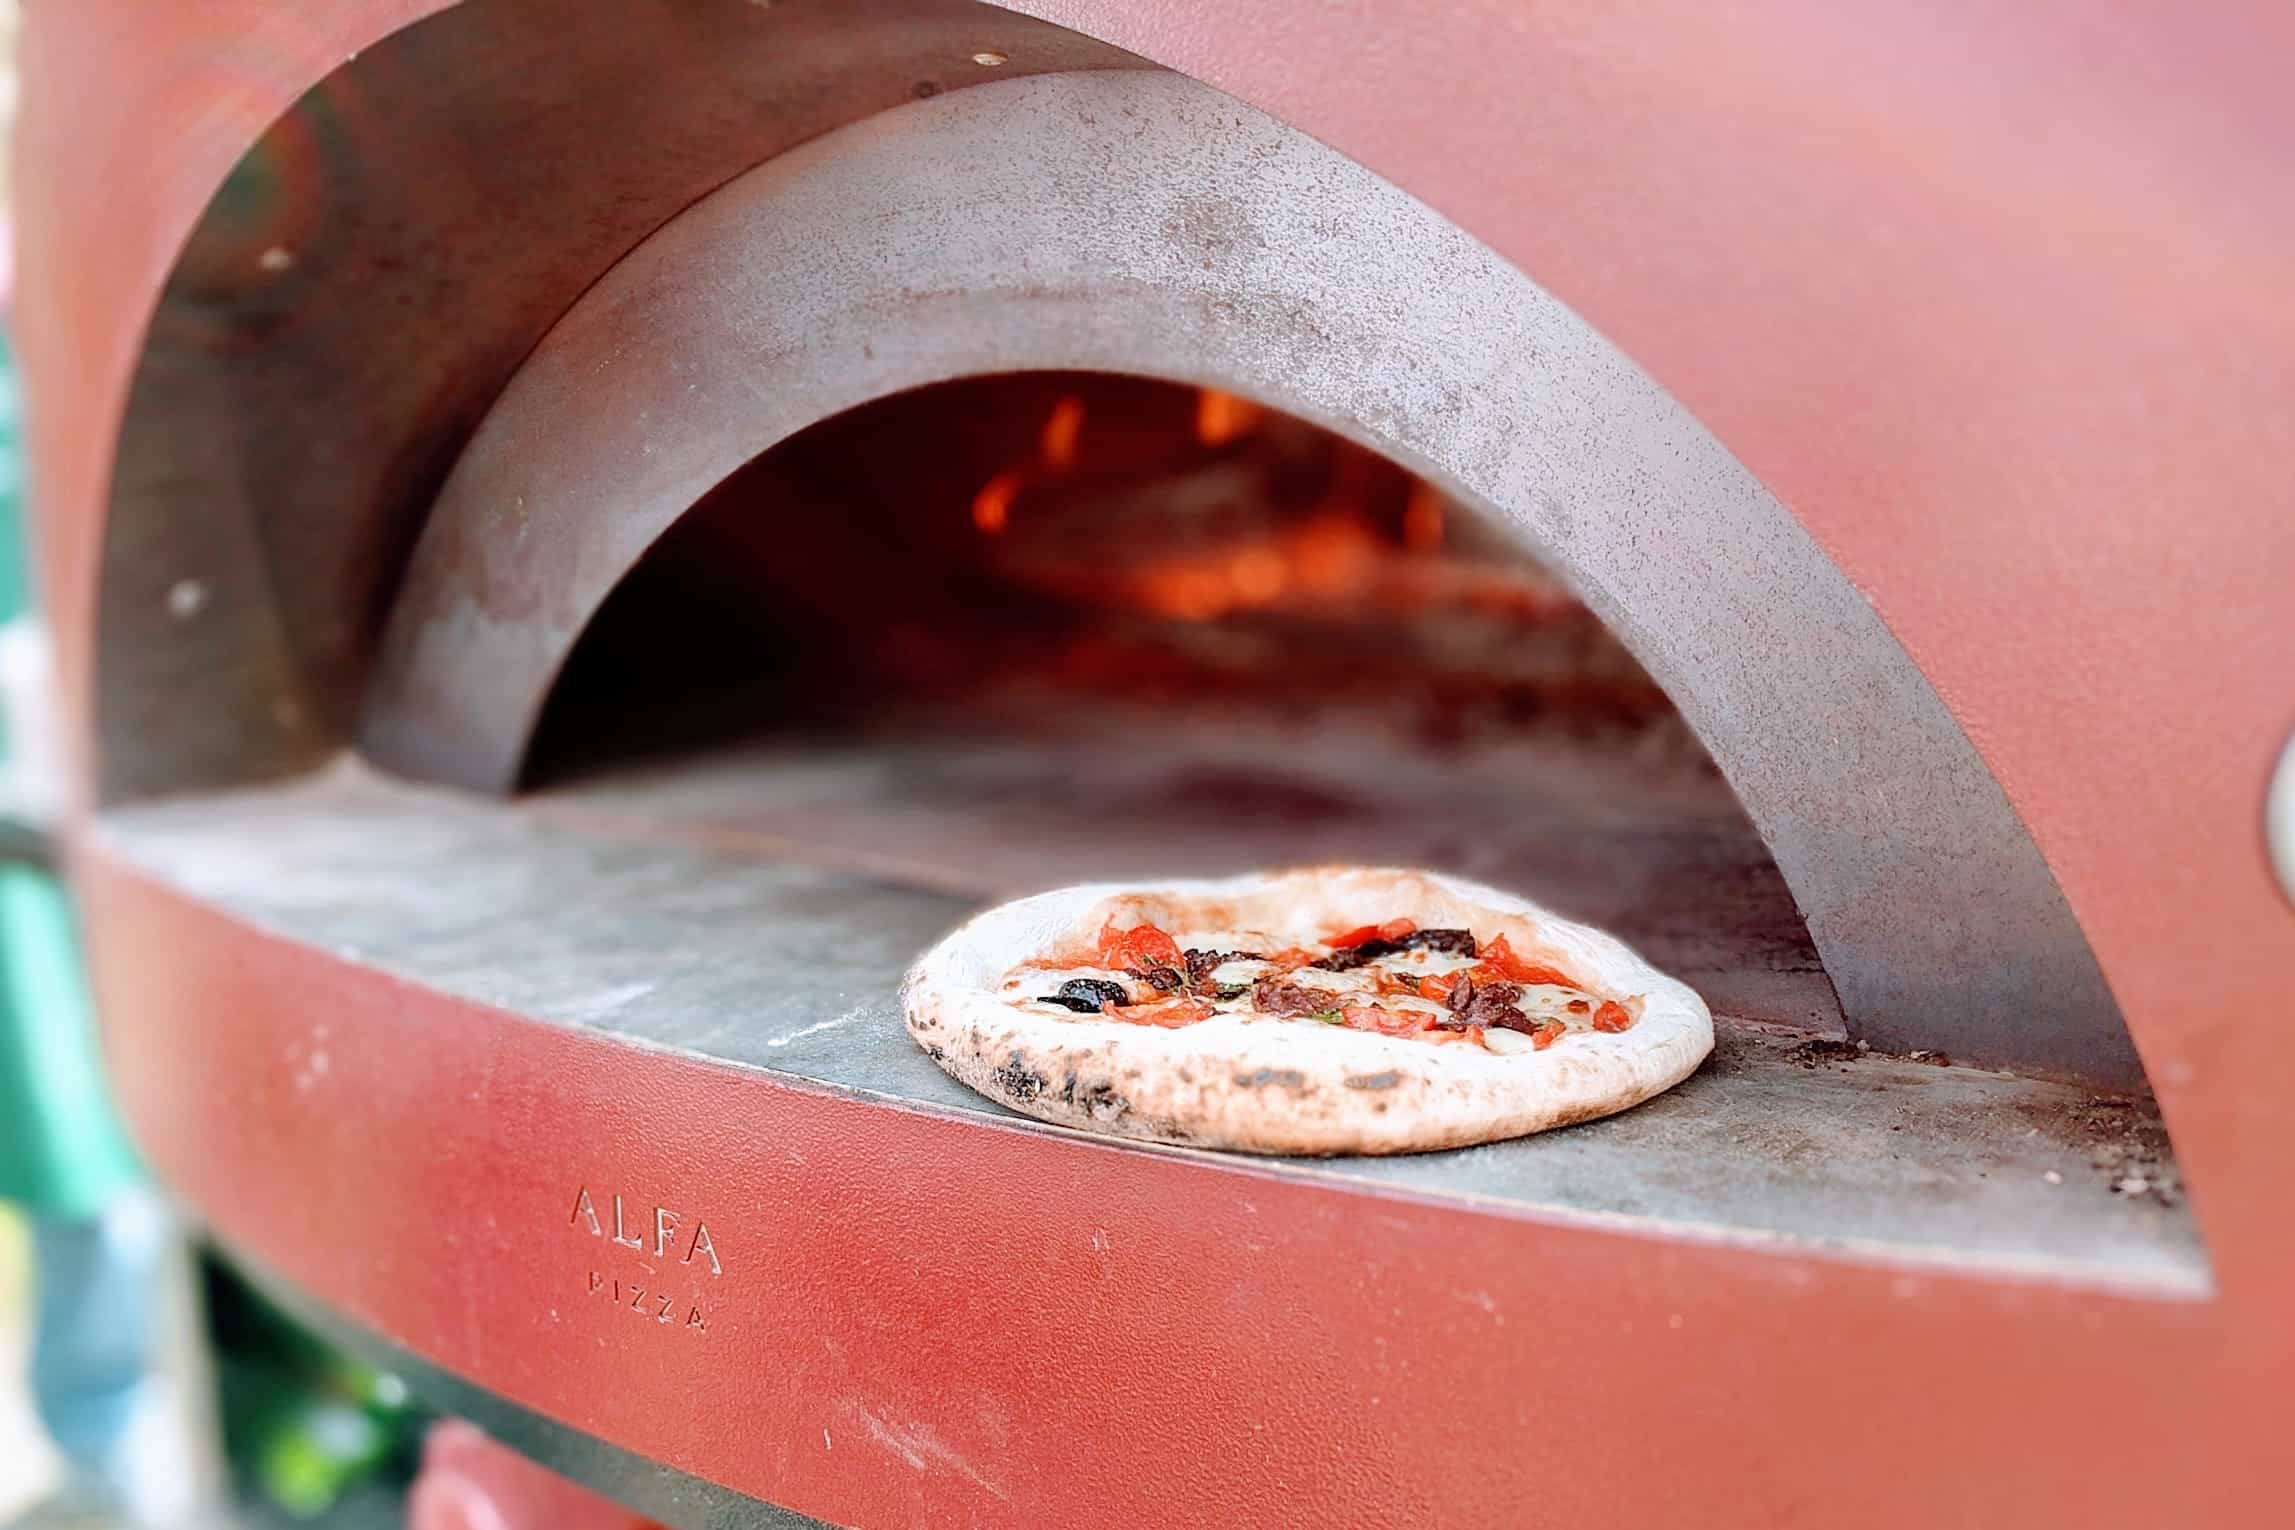
How To Start Cooking Over Your Fireplace

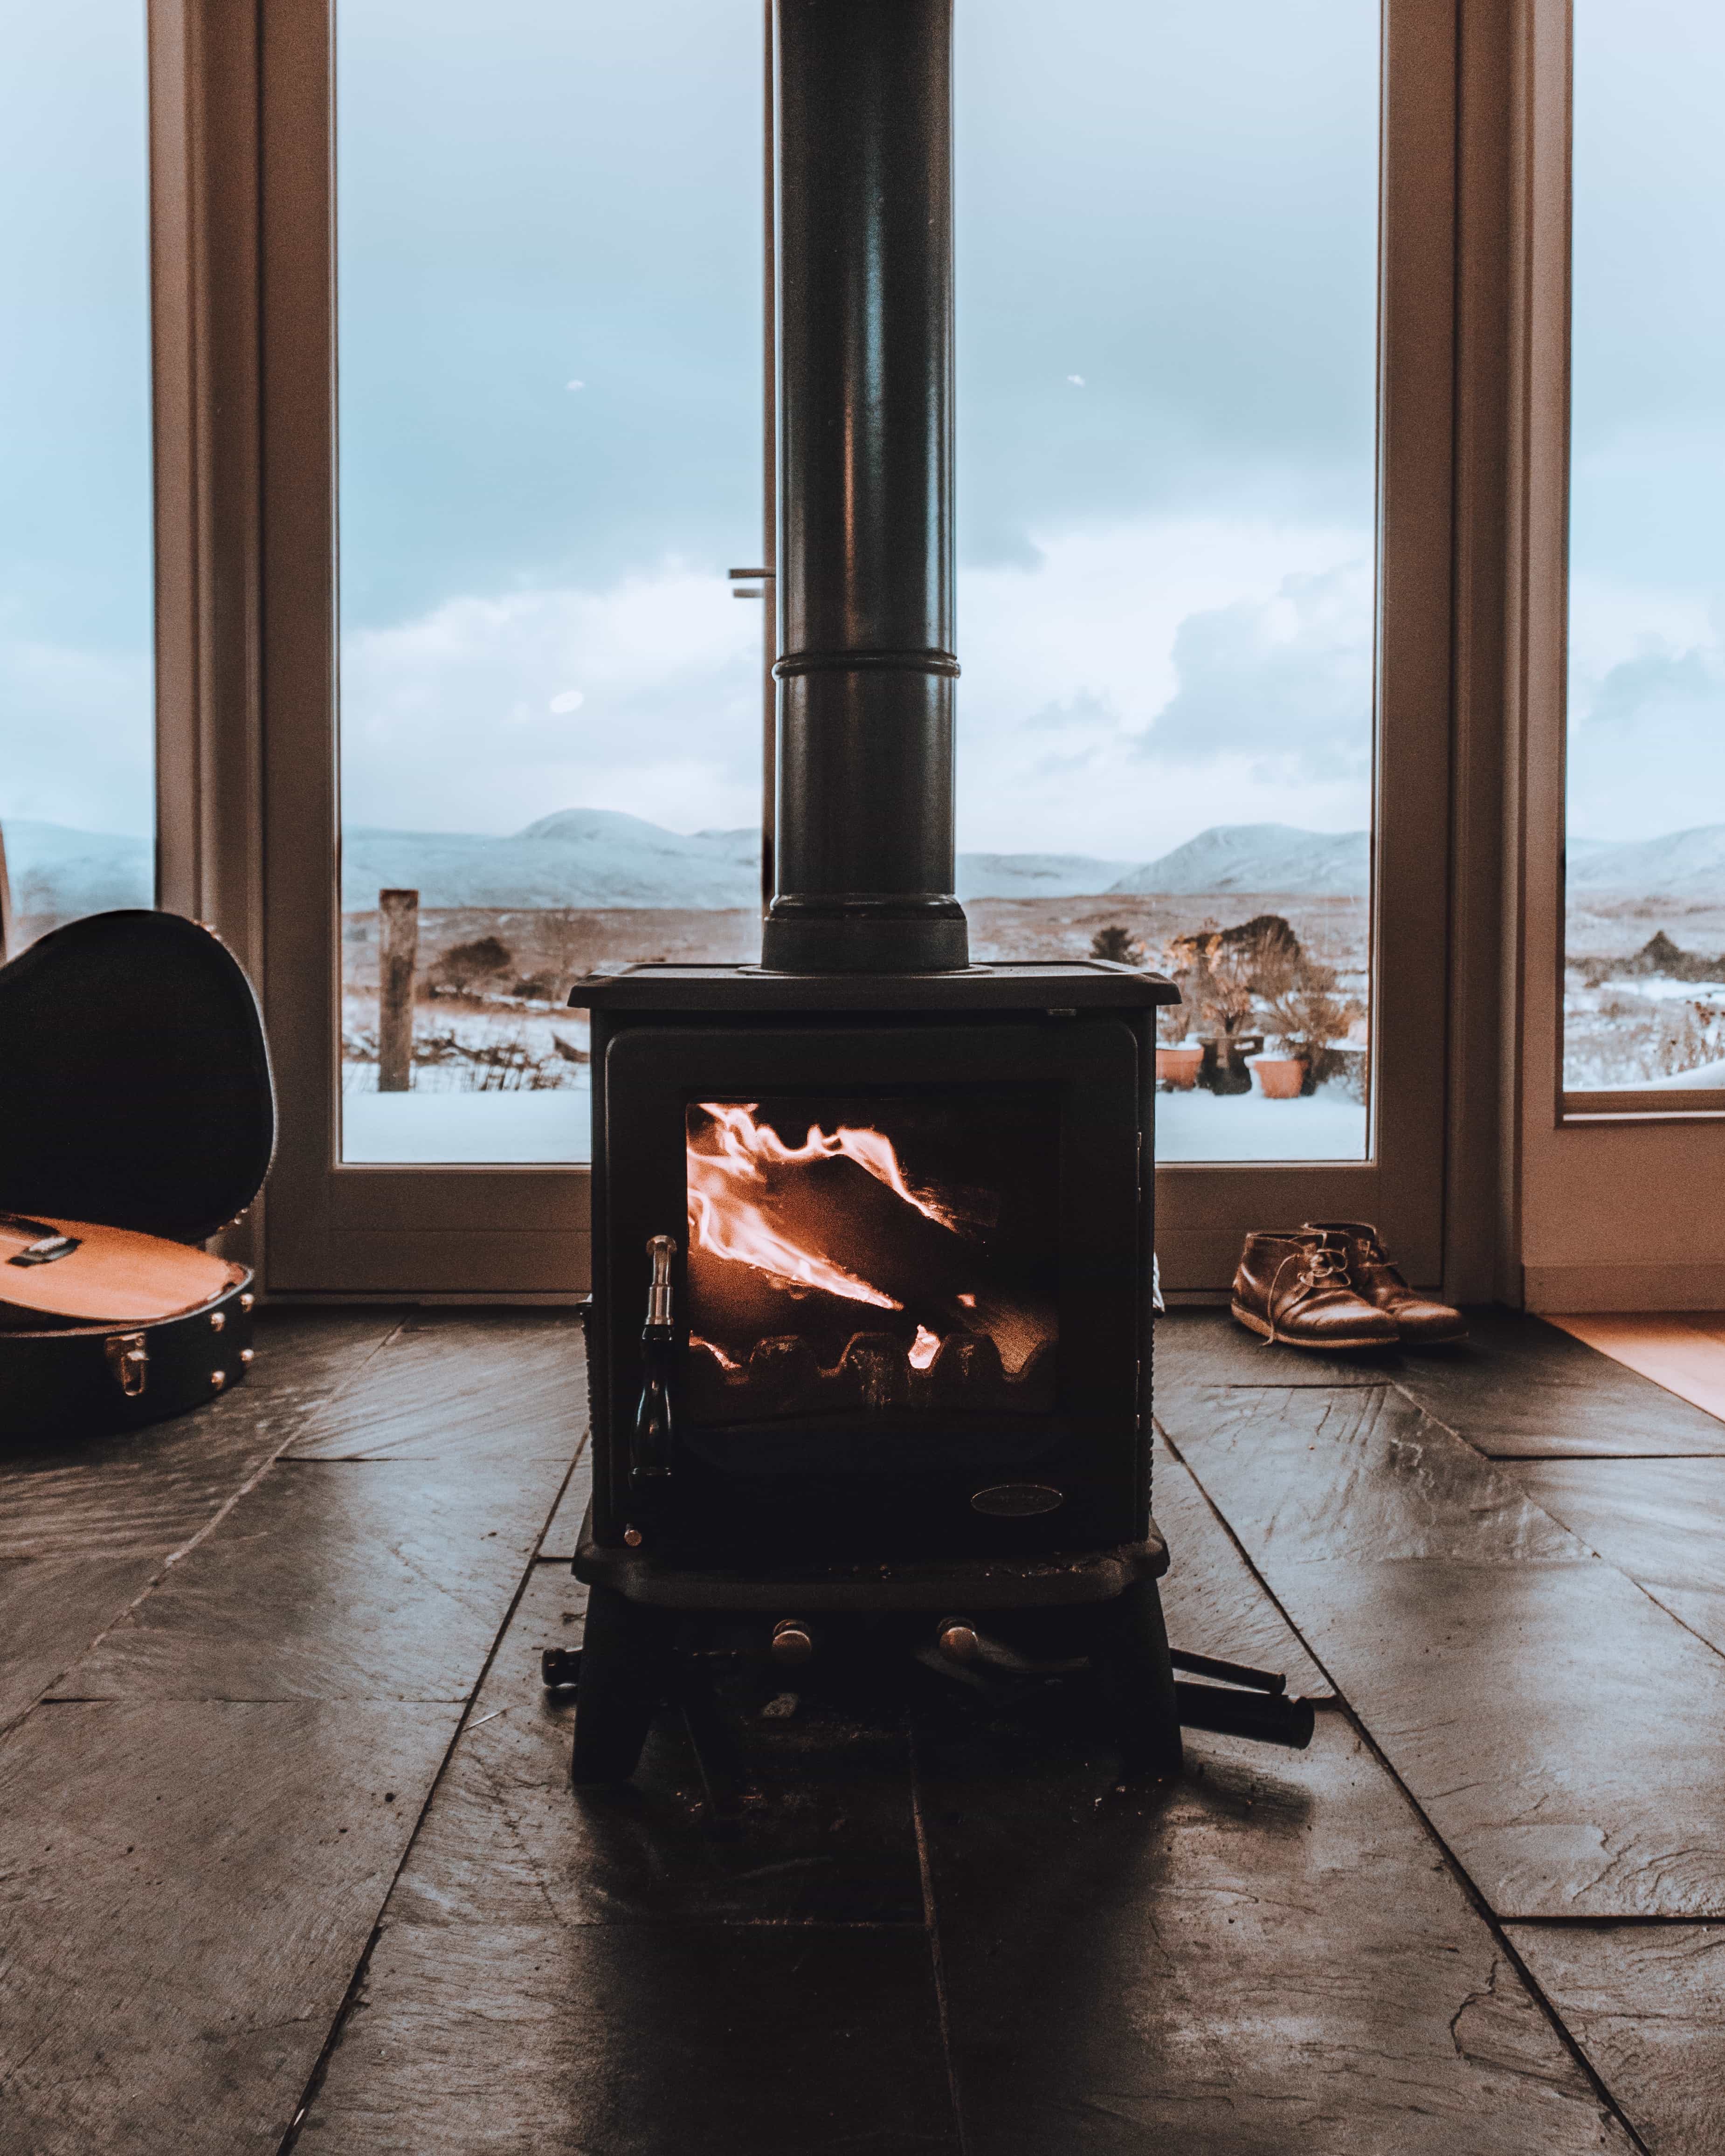
To get the most out of your fire this winter why not try cooking with your fireplace!

A wood-burning fireplace is safe for you to cook in, however, a gas fireplace is not. For a gas fireplace, the logs need to be clean and unobstructed to work properly. Grease or food could fall onto the logs and could potentially cause a fire hazard.

Safety for indoor cooking
  • it is important to have the flue open when you start cooking on your fireplace. Leaving the flue closed will allow a build-up of carbon monoxide which is very dangerous.
  • Keep flammable items away from the fireplace as you’ll be interacting with the fire while cooking.
  • Make sure your fireplace is clean and maintained as cooking in an unclean fireplace can cause smoke risks.

You can cook over a wide temperature from 160 degrees for slow roasting to over 750 degrees for high heat grilling.

Cooking options

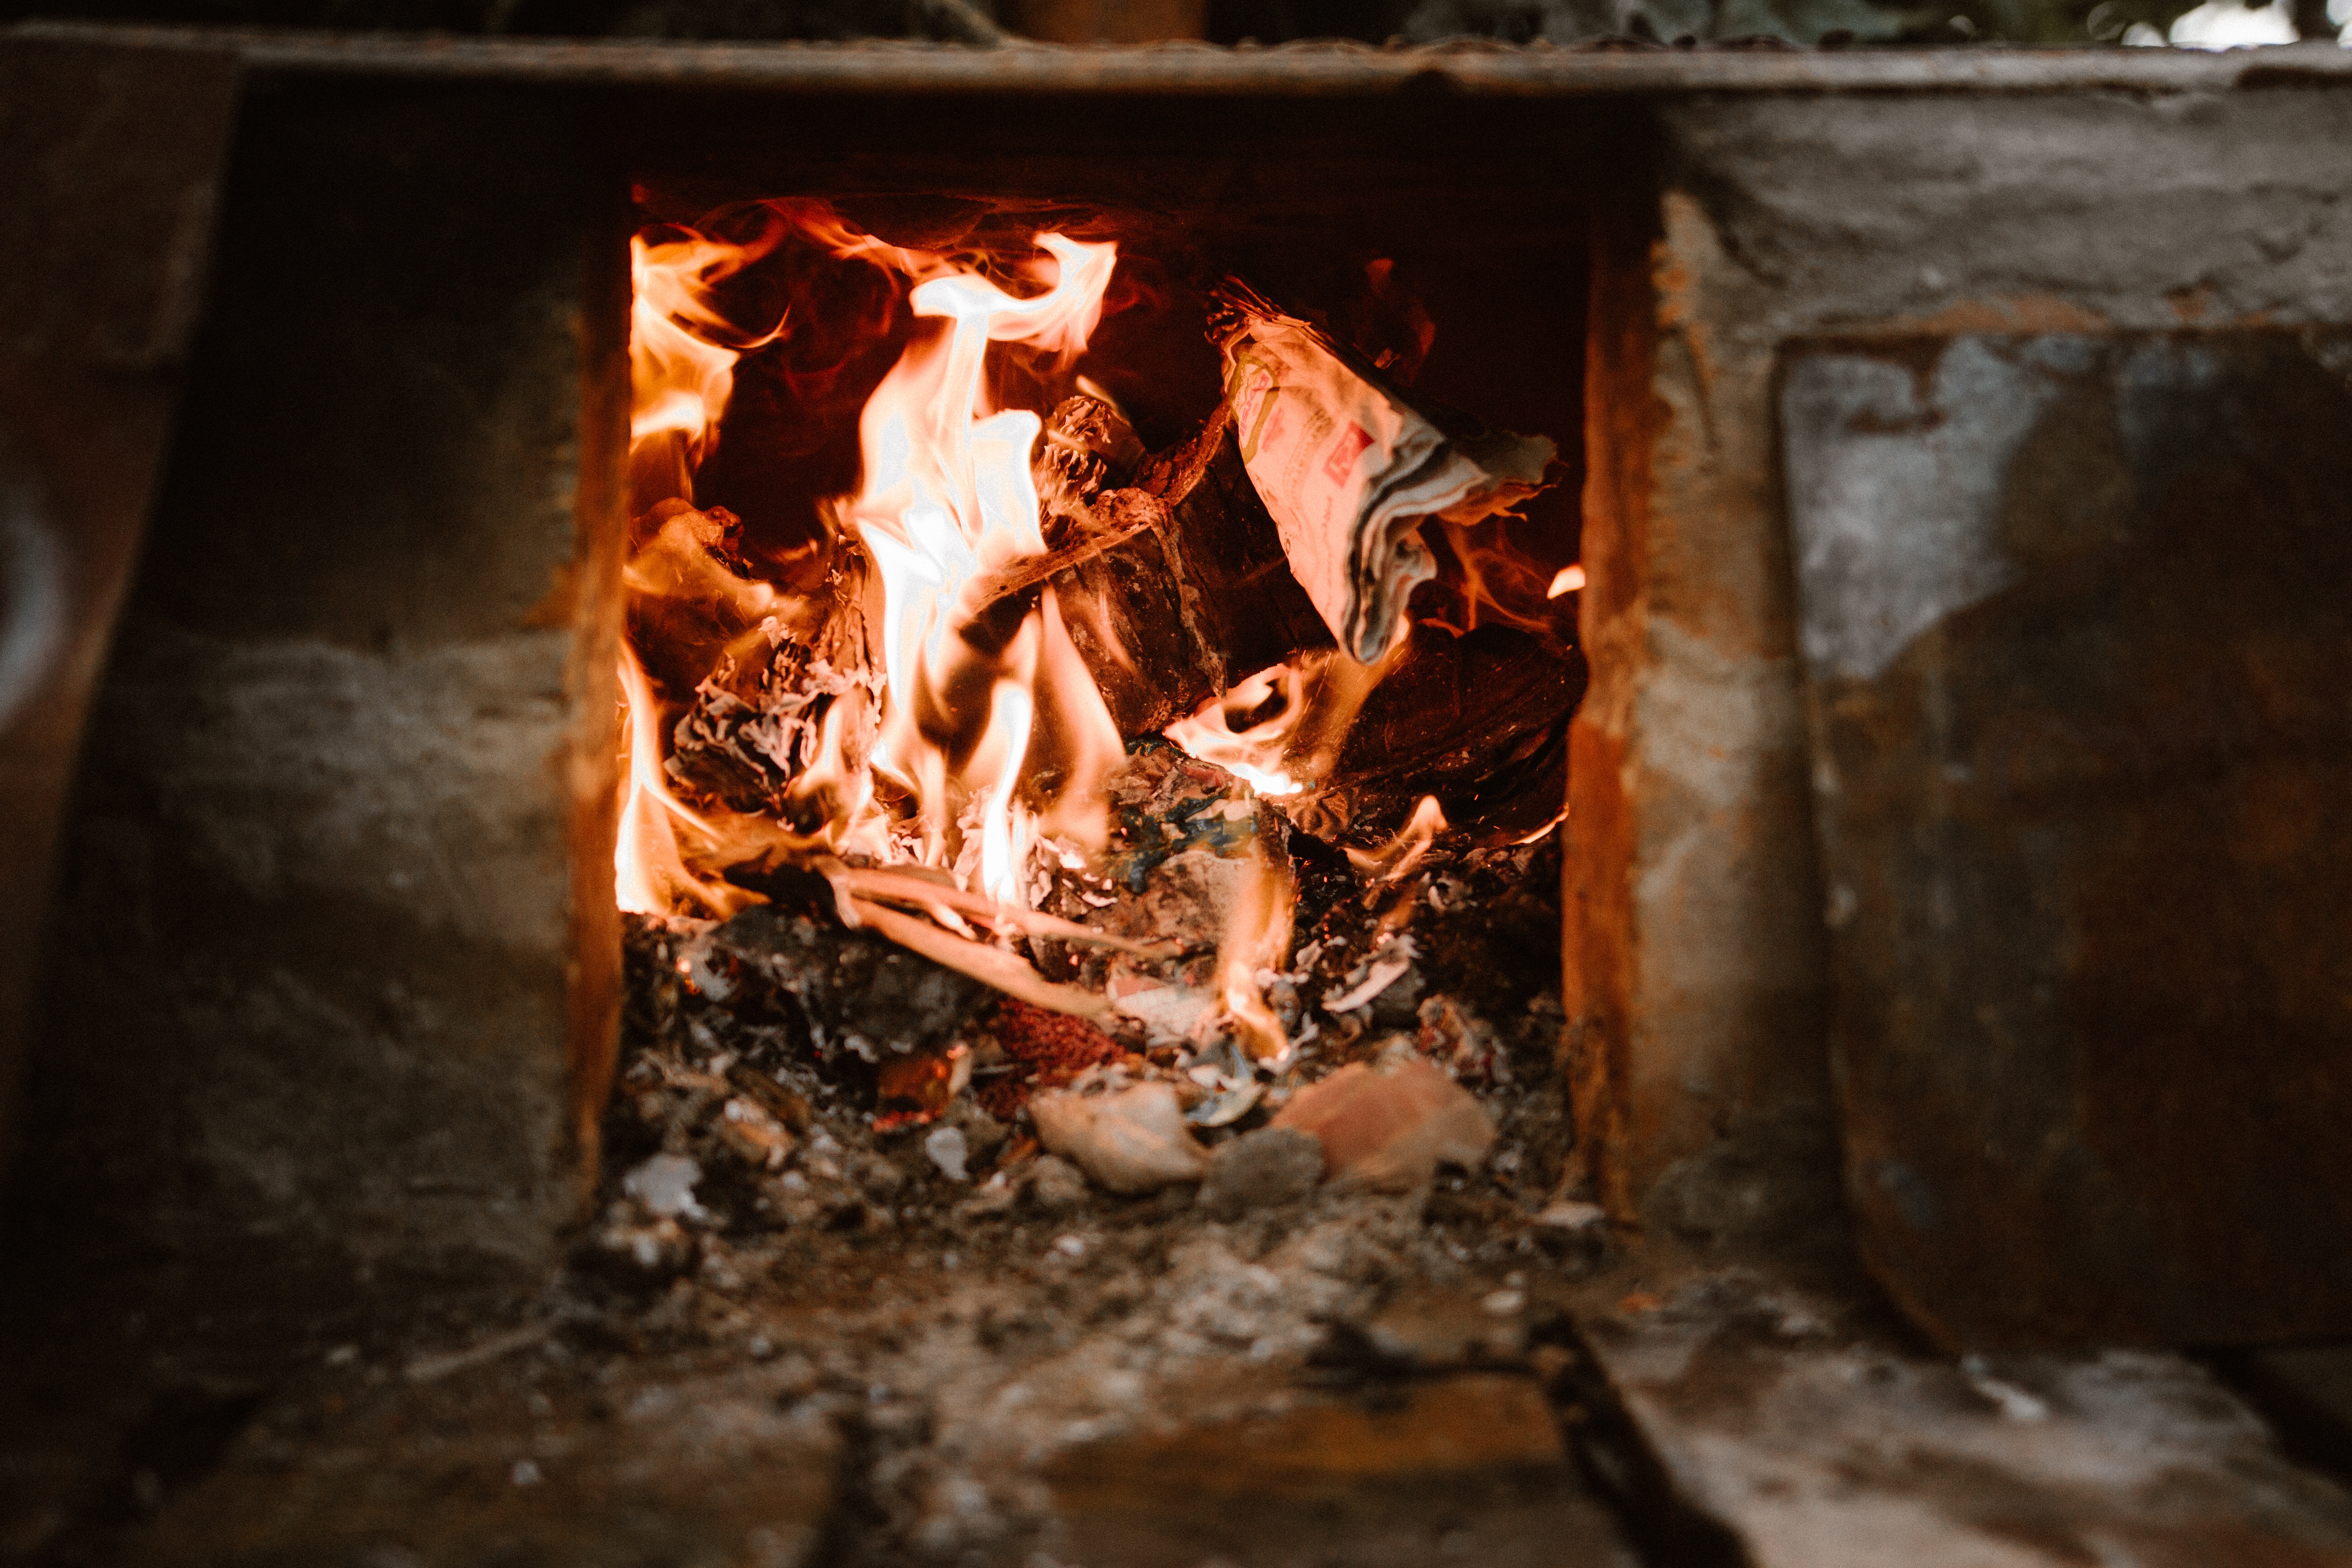
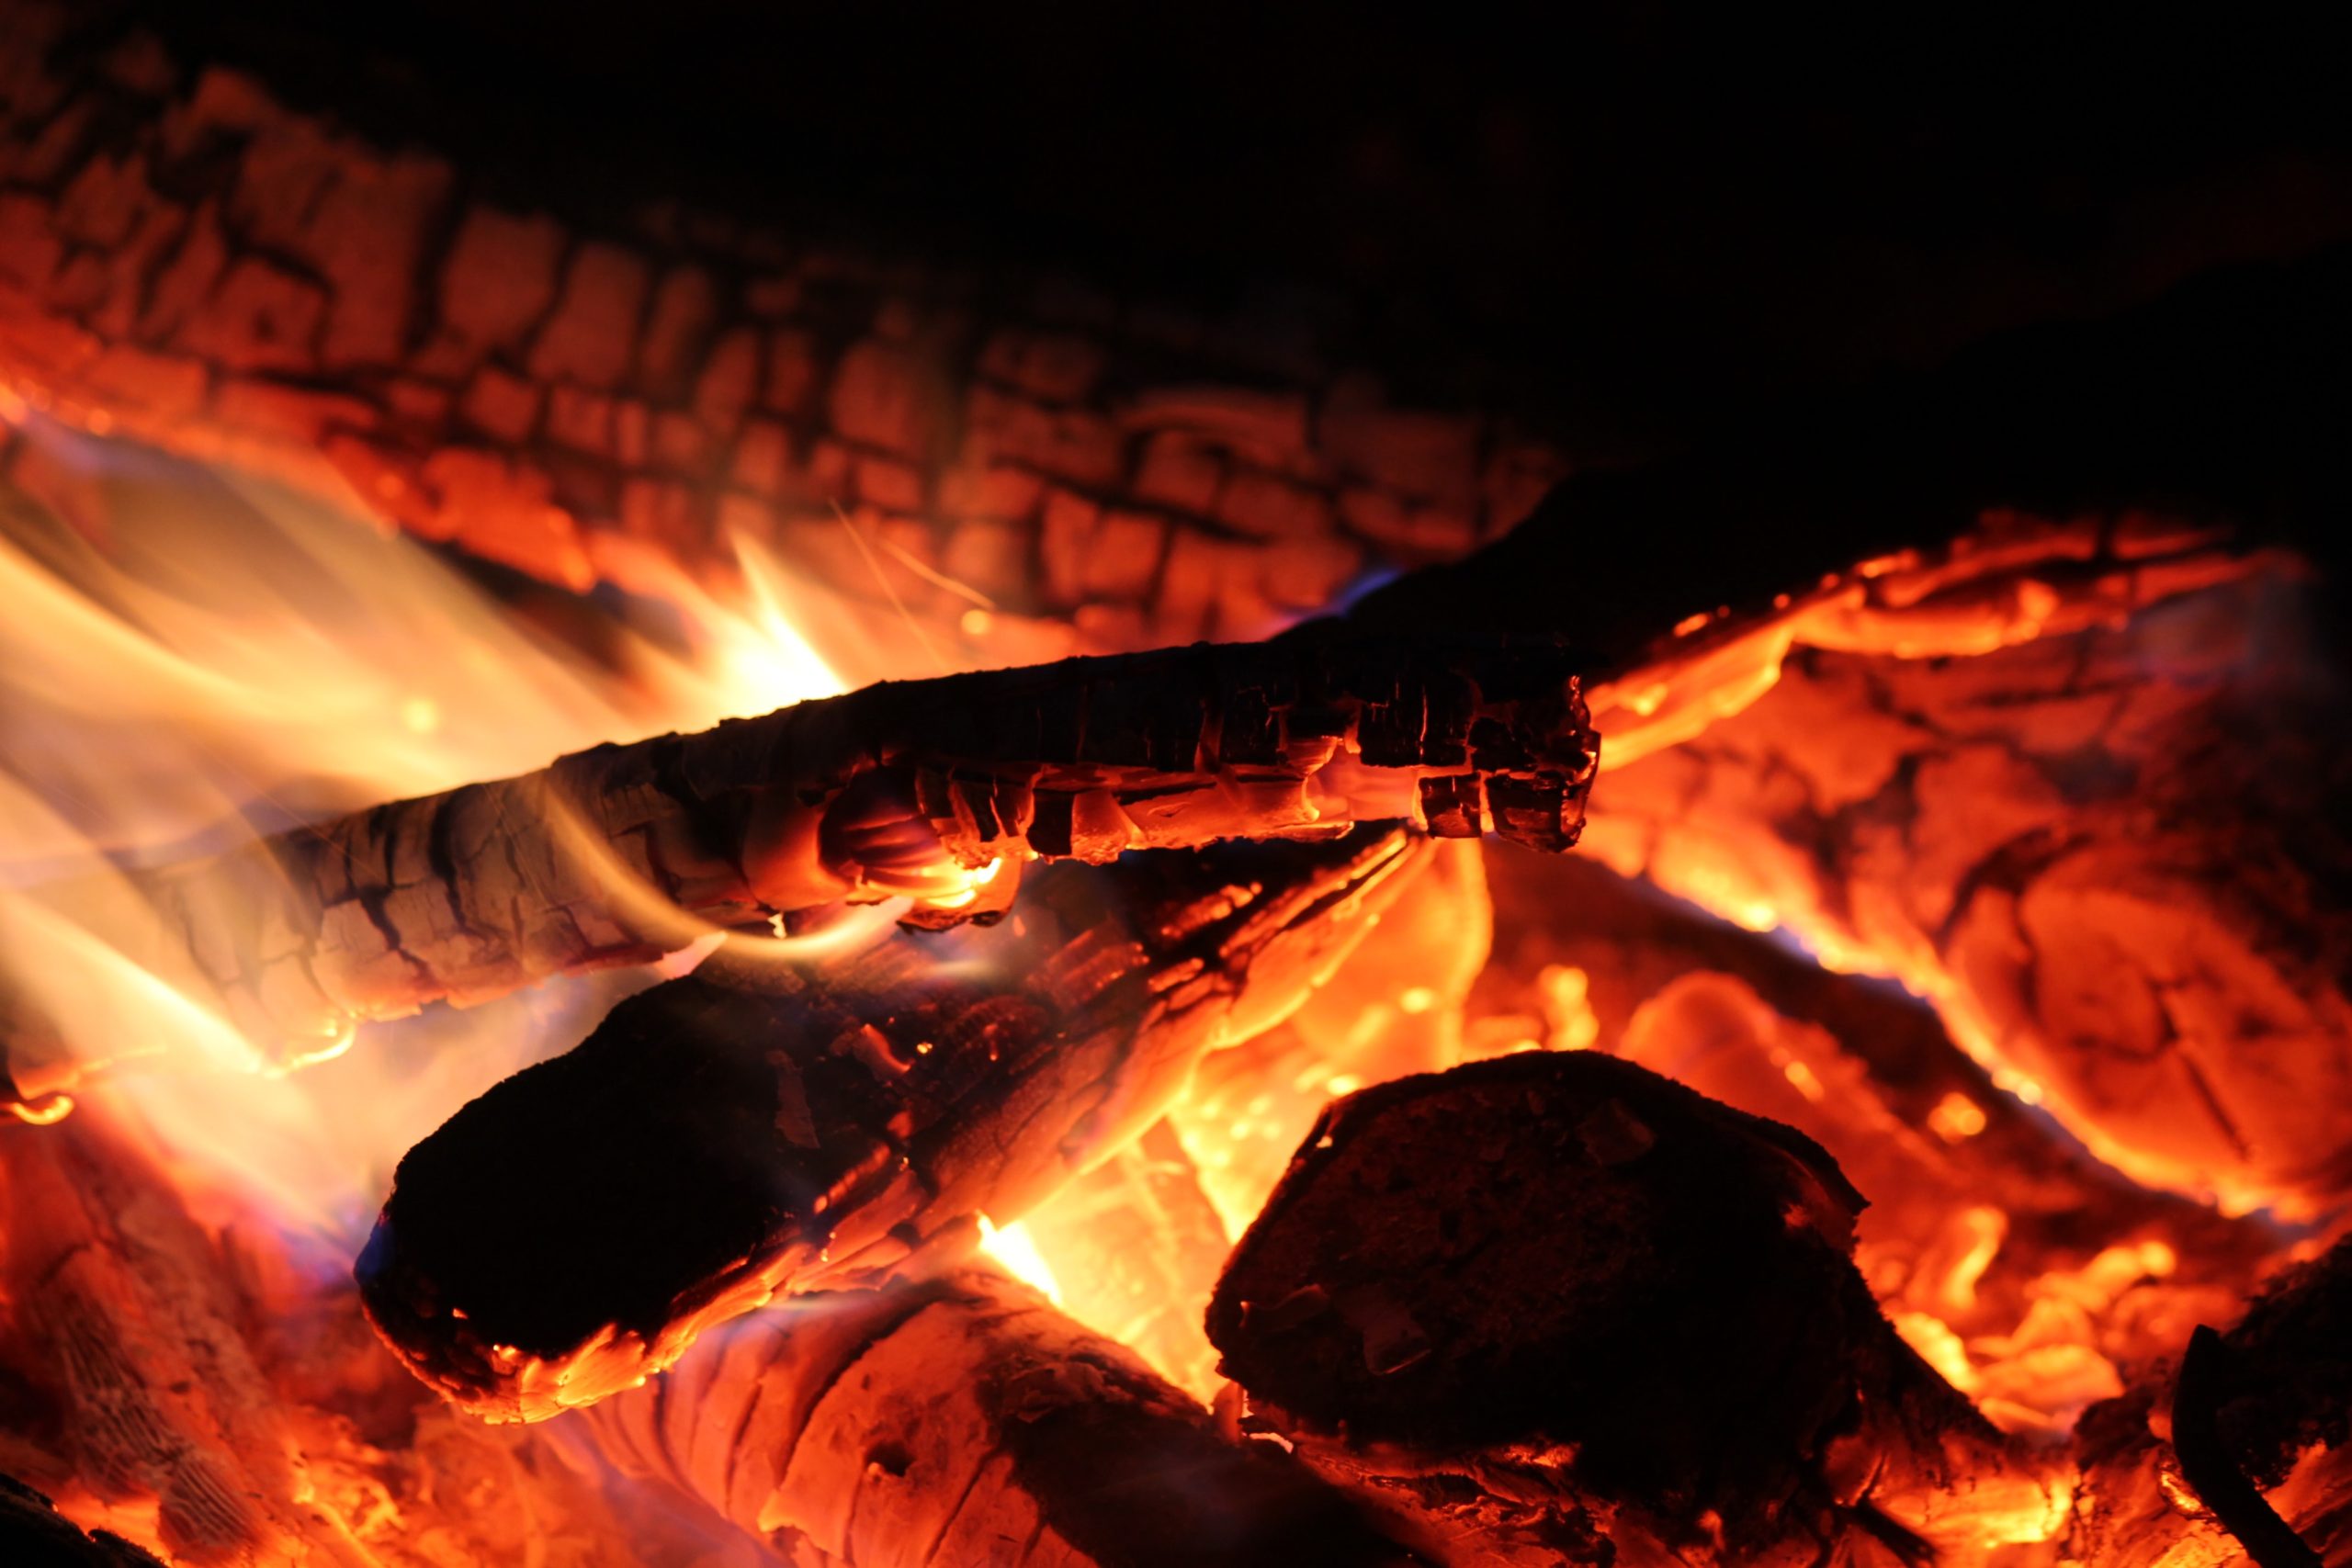
Cooking straight onto the embers. You can cook whole onions, eggplant, peppers, yams, potatoes and thick steak-like porterhouse, t-bone or ribeye.

  • arrange two parallel rows of firebricks, broadsides down toward the front of the fireplace, shovel a layer of ember between the two rows, then rest a frying pan, griddle or dutch oven on the bricks. The wood smoke will still infuse the food with a smoke flavour if it is in a pan.
Skewers

sausages or kebabs with metal skewers, don’t forget you can cook s’mores this way too!
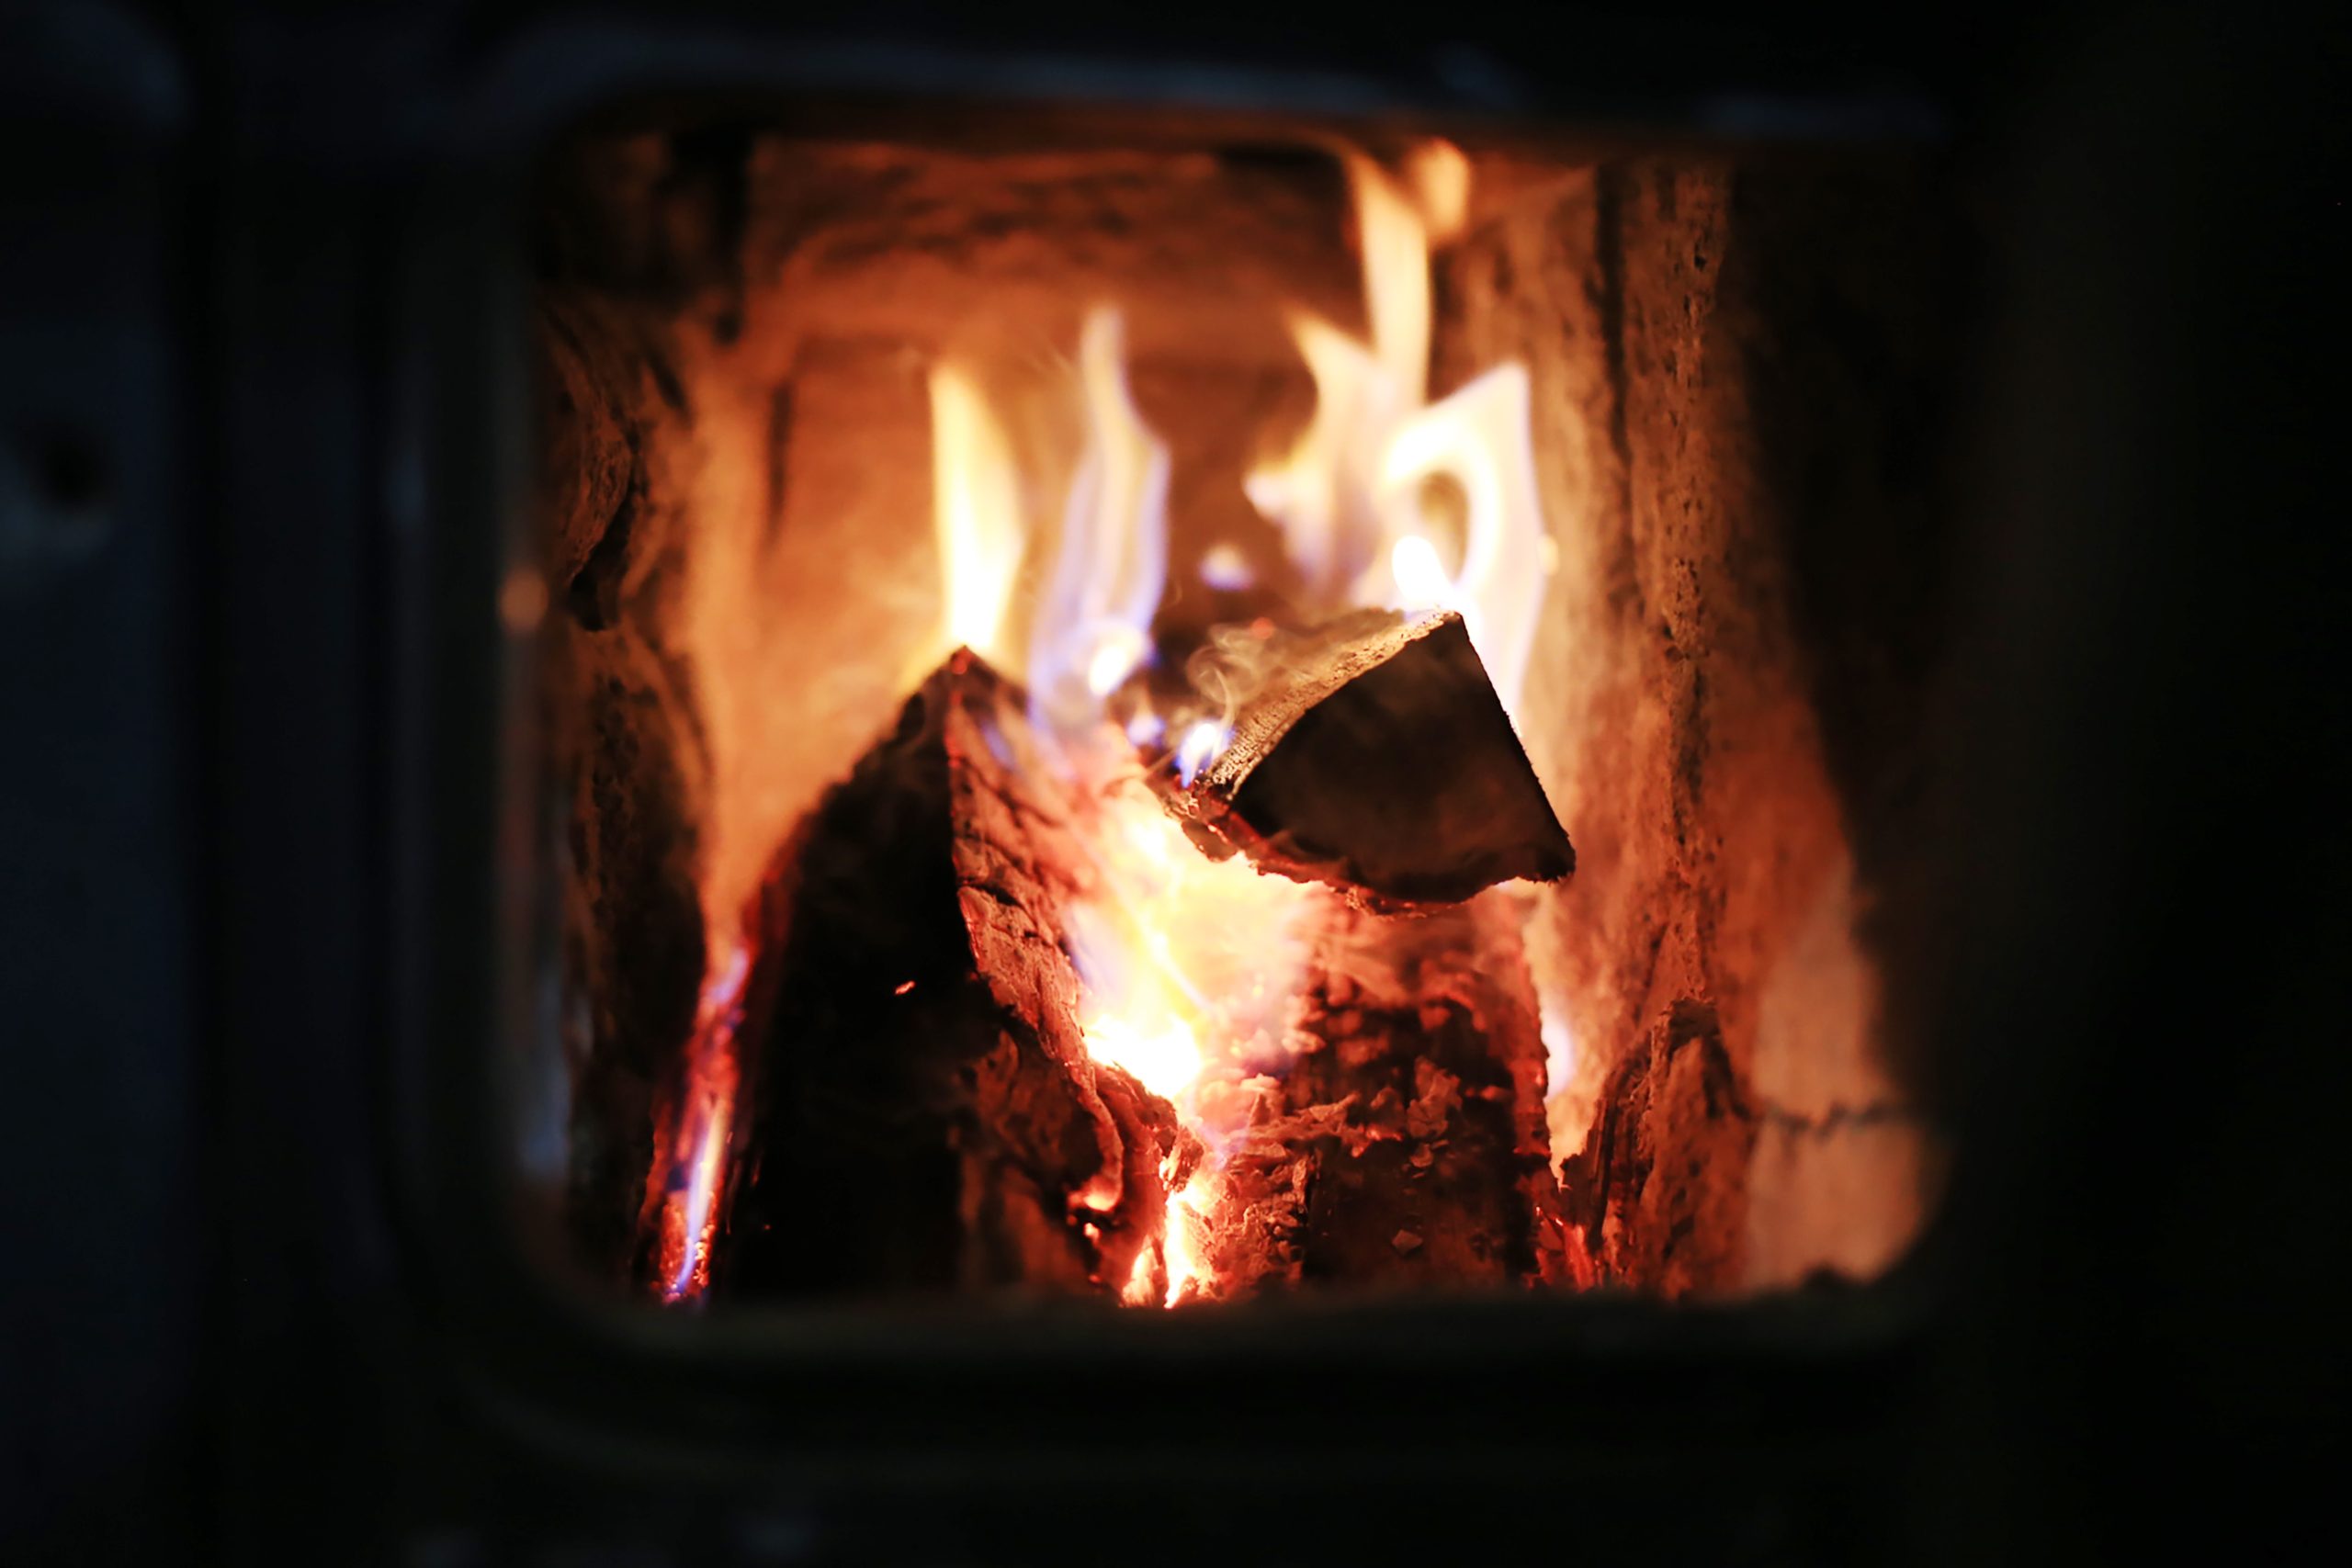
Dutch oven

You can easily cook soups or stews on your fireplace. The trick is to get your fireplace going that it produces plenty of hot embers. Then you can place the dutch oven on the embers. Remember to rotate to distribute the heat evenly.

A String

This is still used in southern France, a method called la ficelle (on a string). Meat or poultry is put into a compact packaged and suspended from a hook in the ceiling or mantelpiece. The meat rotates near the heat from the fire.

Tips for cooking with your wood fireplace
  • avoid overly fatty foods like rib-eye steak as they will create a lot of smoke when cooking over the fire.
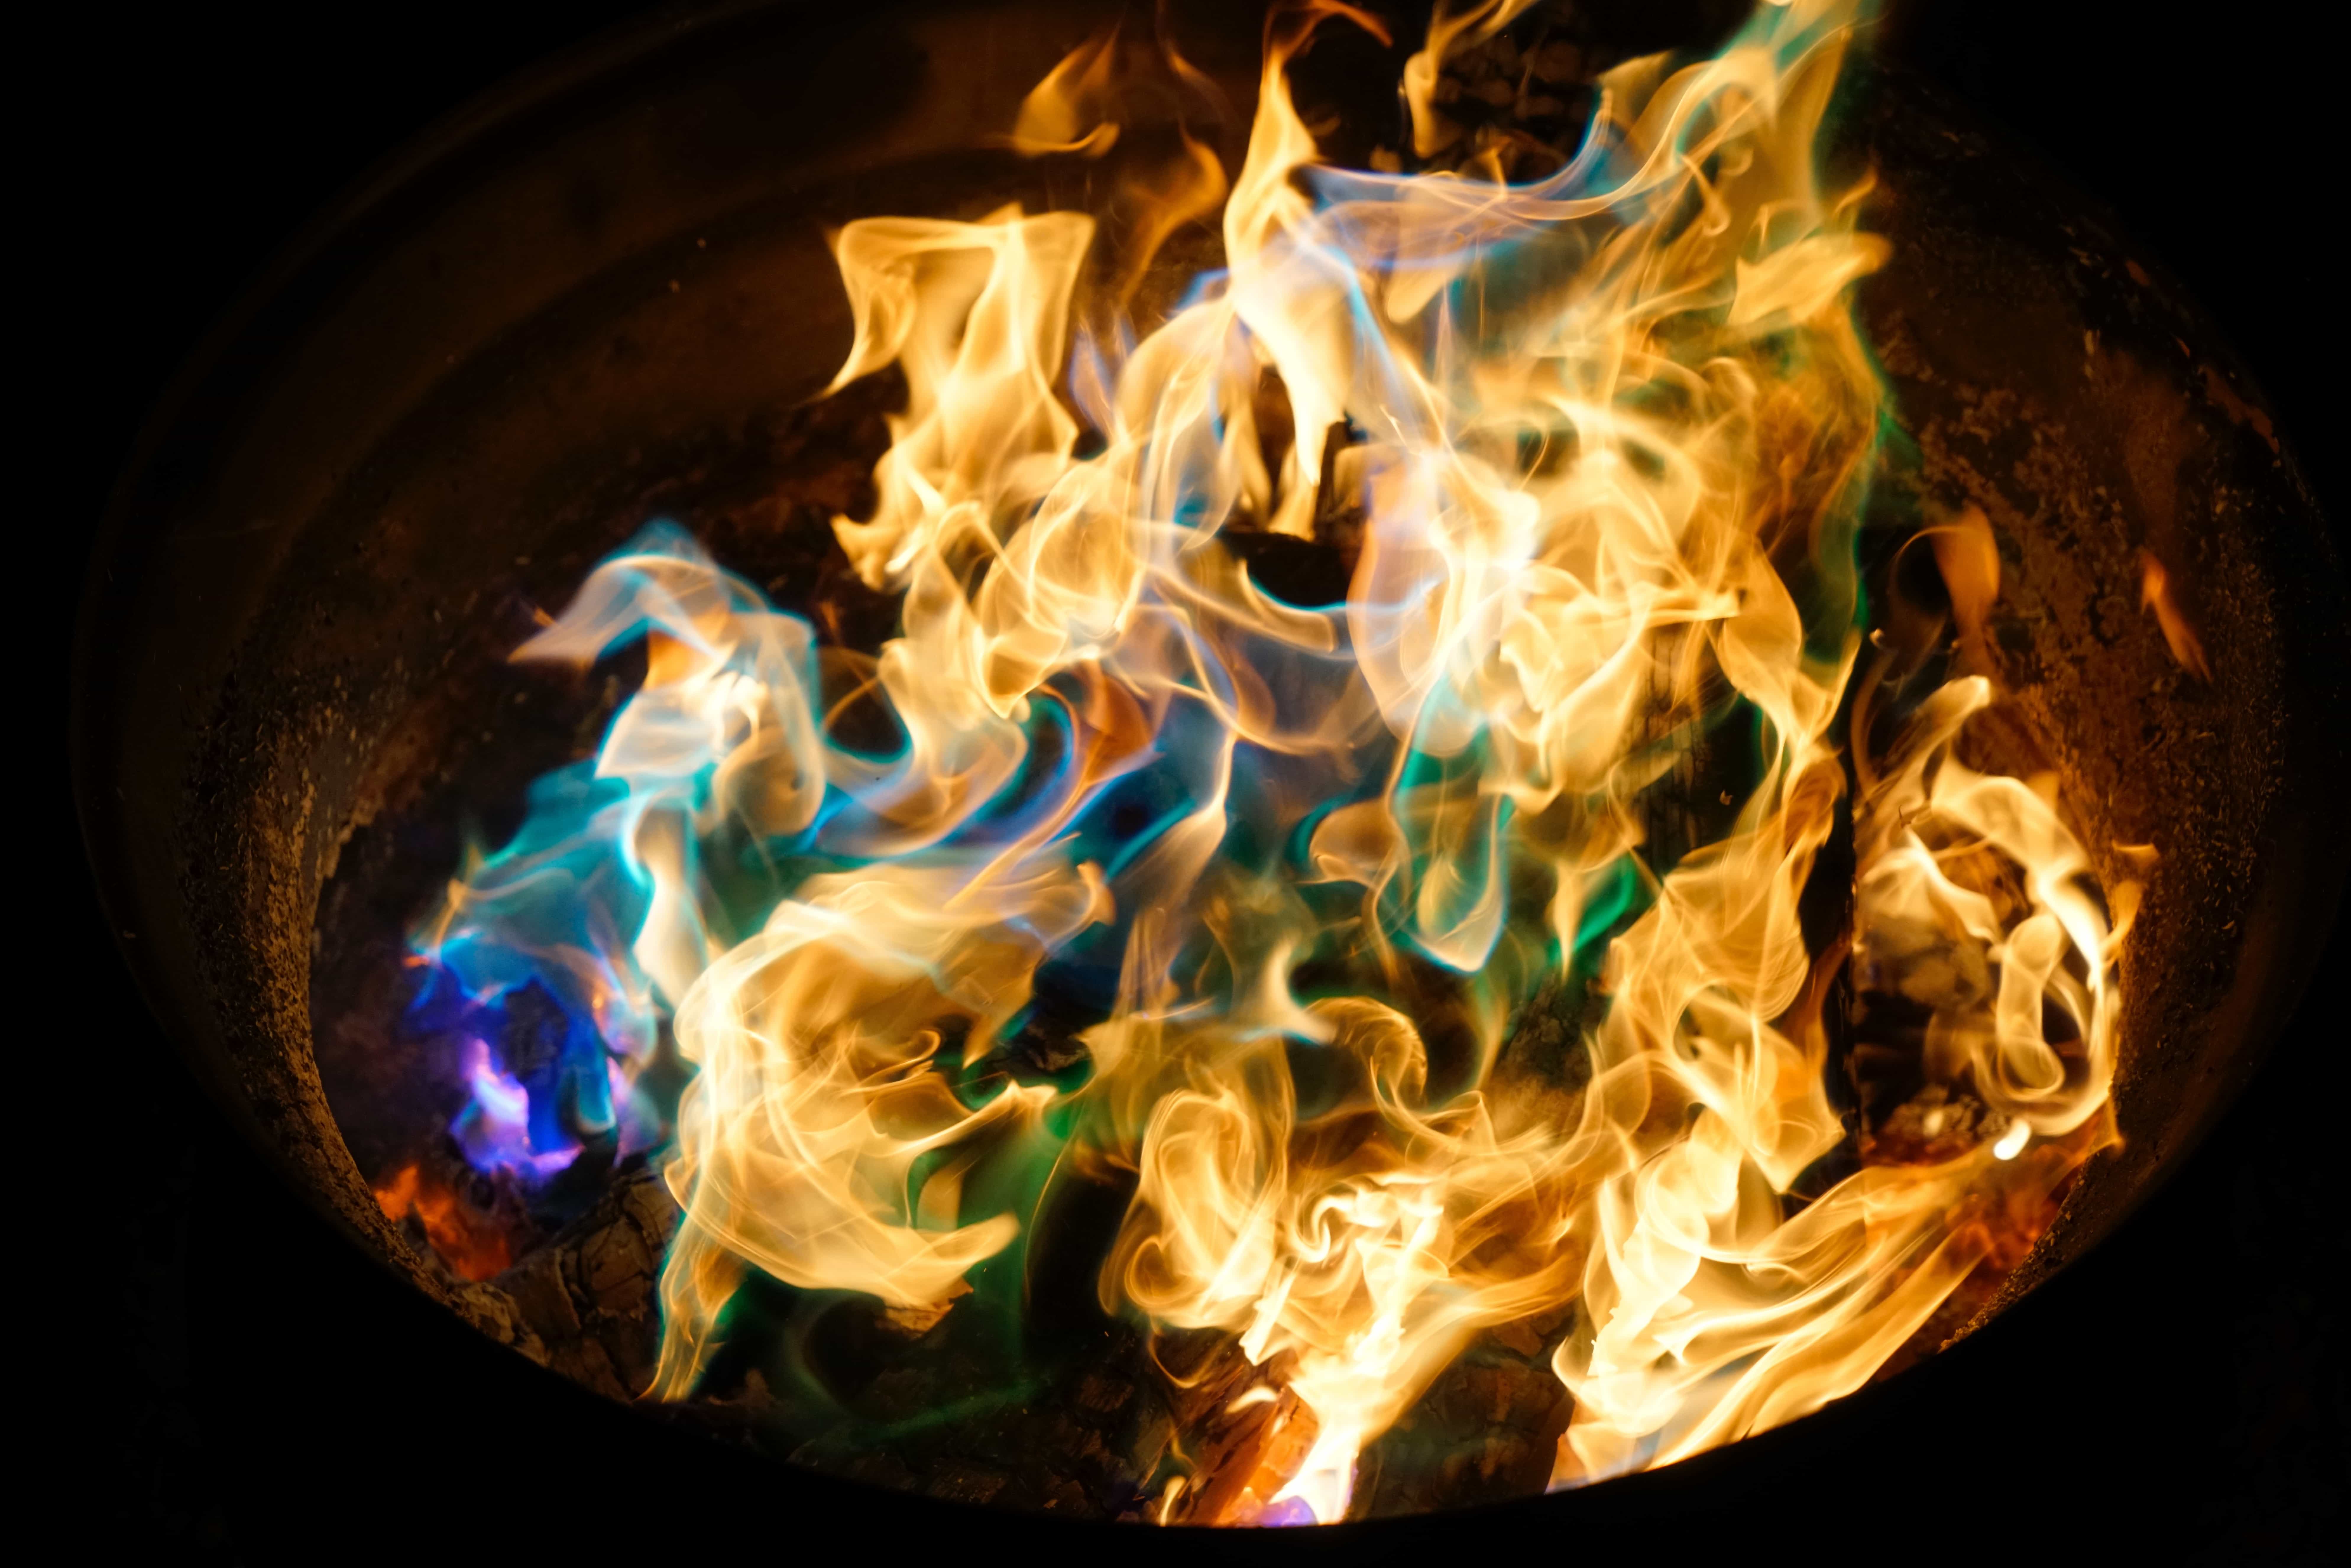
  • Choose the right wood, well-seasoned woods like applewood will give you a unique flavour that you won’t get from an oven. This is also less likely to give off dangerous sparks.
  • Avoid pine or cedarwood, they burn at low temperatures and can leave resin in your chimney. Don’t use regular logs that may include petroleum wax as these are dangerous to ingest.
  • Test the temperature, the heat distributes unevenly – to prevent this use Firemizer and will allow for an even burn.
  • Place a pan to catch drips

What is A Yule log

The Yule log began as a Nordic tradition. The Yule log is the largest log picked and would be placed into the fire hearth. This Christmas tradition is carried out in several countries all over Europe.

  • It is a tradition to light the log with a previous year’s log. Keeping the wood in storage it is slowly fed to the fire through the 12 days of Christmas
  • In France, it is a tradition for the whole family to help cut down the log.
  • A tradition in Cornwall uses a dried out and bark-free log call the mock.
  • Barrel makers in the UK had unused logs that they couldn’t use therefore they gave their customers them for Yule logs.

Similar traditions

Ashen faggot is an old English tradition from Devon and Somerset. A faggot is a large log or bundle of ash sticks bound with nine green lengths of ash bands preferably from the same tree. They would burn this on Christmas Eve and in the heart of the fireplace.

Types of wood

  • The UK  uses oak
  • Scotland uses birch
  • France uses cherry. They sprinkle wine over the log before its burning, therefore, it smells nice once lit

Sprinkle Chemicals on the log to create coloured flames;

  • Potassium nitrate violet,
  • barium nitrate green,
  • copper sulphate blue,
  • table salt bright yellow

However, throwing ashes out on Christmas Day can be unlucky

Chocolate Yule log

Eaten in France and Belgium this is a popular Christmas pudding. Additionally, made with a chocolate sponge, layered with cream and covered with chocolate and decorated to look like bark.


How To Roast Chestnuts This Christmas

Get into the festive season by indulging in the best Christmas food. One of those being roasted chestnuts. They can be used for turkey stuffing, cakes or crumbles.

They are at their peak over the festive season. For the best flavour look for the largest nuts and choose those that are shiny and feel heavy.

  1. First, you cut the shell carefully. Make an x shape on the nut but be careful not to cut the nut inside just the outer shell
  2. Heat the oven to 200 degrees fan or gas 6. Roast for 30 minutes until the skin splits open.
  3. Let me cool and then you can peel them. Serve immediately or chop ready to add to another recipe.
chestnuts Roasting over an open coal fire

If you want the ultimate festive experience this is how to roast chestnuts over an open fire.

  1. Prepare the charcoal grill for direct heat. Light charcoal, for a medium-hot fire you should be able to hold your hand 6 inches above the flame for around 5 seconds.
  2. Use a knife to cut an x into each chestnut
  3. Cook for 20 minutes or until chestnuts have split

To roast them in the fireplace wrap the chestnuts in a foil packet then place into a medium-sized fire. Roast for about 15 minutes then leave them to cool before unwrapping. When the chestnuts are cool enough to handle you can peel them.


Four Common Mistakes When Using Wood Stoves

Wood stoves are a great way to reduce your heating bill as well as providing aesthetic value to our homes.

However, burning wood takes some preparation and you have to make sure it is ready to burn safely through the winter months.

Below are 4 major mistakes people make with their wood stoves!

Not inspecting & cleaning your stove

You need to make sure your stove and chimney are ready for the season. There are a few things you’ll need to check

  1. Examine the firebrick lining and see if it needs replacing  – the lining will keep the stove from overheating
  2. Make sure the chimney is cleaned. This will prevent chimney fires and help your stove burn more efficiently.
  3. Check the sealed door. You want a tight seal to make sure smoke doesn’t enter your house. The cord that’s around the door may need replacing on occasion.

Don’t neglect these steps as you could be at risk of a chimney or house fire.

Not having enough fuel

Running out of fuel in the middle of winter is not ideal. It is best practice to have too much wood than too little. How much you’ll need will depend on several things;

  • How large your house is
  • The efficiency of your stove
  • They type of wood you’ll burn
  • How often your light your stove
  • Not storing your wood properly

Once you have your wood you need to make sure it is stored in the correct place it could affect the performance of your stove.

You don’t want your wood to get too wet as burning wet wood reduces the efficiency of your stove.

The best practice is to keep the wood out of the way in a dry shed and on a pallet so the air can circulate. Check out another blog about storing your wood!

Not having a backup plan

If something happens to your wood supply then you need alternatives. Some will burn quickly while others with smoulder for a while.

  1. Rolled old jeans
  2. Rolled paper logs
  3. Coffee logs
Bonus mistake

Not using the Firemizer winter pack! This will help you light your fire with an odourless firelighter and firemizer will increase your fire efficiency and reduce harmful particulates. 

Are you prepared for the winter season?

Why we love Halloween (and you should too)!

Why we love Halloween (and you should too)!

Can you hear that creepy organ playing in the background? The distant rumble of thunder coming from the distance? The shadow of a black cat from outside the window? Shrieks of terror and squeals of joy as the streets are packed with tiny ghosts and ghouls? It must be Halloween again! While you’re preparing for the scariest evening of the year (whether you’re trick-or-treating, or having a movie-marathon), this week’s blog post is all about why we love the 31st!

Food and Desserts

Of course, when most of us think of Halloween, our first instinct is to think of the massive amount of candy we’ll consume. Halloween and candy go hand-in-hand. It’s really the one time of year that amassing a huge haul and eating it in one night is encouraged! However, it’s not just candy that gets our taste buds going, but all the cool and creepy desserts too. From candy apples, to skeleton cookies, to a big bowl of spooky punch, there’s an endless list of ideas. To get you started, there are 11 ideas for you here.

Costumes

In true holiday spirit, Halloween is certainly one of those holidays that has a tendency to… creep up on you. The days are getting shorter, and we’re all still suffering from the post-summer blues. Before you know it, you’re drowning in invitations to haunted houses and Halloween parties, so it’s no surprise a lot of people struggle to get a costume sorted in time. If you’re among them, here’s 22 cheap and cheerful costume ideas that require little-to-no time at all.

Arts and Crafts

One of everyone’s favourite ways to celebrate Halloween is carving the pumpkin! It’s a way to really unleash you’re inner-creative demon with something spooky, funny, or just totally imaginative. Obviously we’re not all carving-experts, and often the worse the carving the funnier and scary it is! Here’s a fantastic collection of the best and brightest pumpkins from last year.

Traditions

It wouldn’t be Halloween without Halloween traditions! If haunted houses and big parties aren’t quite your speed, there’s nothing better than a spooky movie-marathon. There’s always the black-and-white Hitchcock classics, but they’re definitely a bit too scary for those with kids. If the trick-or-treating is done and the fire is still roaring (up to 38% longer with a Firemizer), then there’s plenty of child-friendly Halloween-themed films the whole family can enjoy. Find a list of them here.

Help your Wood or Coal-Burning Stove live its best life!

Stove Life!

Now we’re into the final quarter of the year, it’s likely you’ll find yourself starting your wood-burning stove more often. Nothing beats the feeling of evading the outside in your lovely warm front room, listening to the crackling wood. As it’s getting more use, it’s incredibly important to make sure you’re using and maintaining your stoves correctly. That way, you can get the most out of your fuel and stove in terms of heat output and lifespan. Here are some quick and easy tips to make sure your stove stays pristine and performing properly.

Know your wood!

Firstly, it’s important to make sure you’re using the correct fuel in your wood-burning stove. Beech and ash logs burn the best especially when seasoned, so you should be harvesting your wood about a year in advance of when you actually plan to burn it. Both of these types of wood when dried out can produce quite a lot of heat output with a consistent flame. Burning hardwood is likely to give a stronger flame and appear to give out more heat than softer pinewoods. This is because they are likely to burn faster and cooler than hardwood because they have a lower calorific value.

Keep a clean stove!

Your stove door should fit snugly to keep the heat of the fire concentrated inside. If the door itself feels loose, you could be losing a lot of heat output. Keep an eye out on the Firemizer website for Maxseal – a new product that ensures your stove door is sealed and secure. Using a Firemizer will reduce creosote build-up in your chimney by 57%, keeping a clear flue. It will also make sure there are no unused clumps of fuel in your ash bed – Firemizer makes sure your fuel ins burned evenly, helping it last 38% longer.

Use the top-down method!

The way in which your start your fires could also improve stove life. Firstly, make sure your firewood is cut in a variety of sizes to fill all available space. Using the top-down method of starting a fire is a great way to start that perfect fire (especially when paired with a Firebuilder). Read our step-by-step guide on how to use the top-down method, as well as lots of other helpful tips and tricks here.

Money Back Guarantee!

Money Back Guarantee!

Now that the summer is winding down and the wonderful weather is becoming a distant memory, we look towards Christmas. The days are getting colder and the nights are getting longer, so naturally it’s time to plan ahead. The summers can get expensive – holidays, day trips, meals with friends, so it’s not unusual to start thinking about money. Therefore this week, the focus will be all about how Firemizer can help you start saving money right away.

How does it work?

Firstly, Firemizer boasts an exceptionally efficient nature that helps to save you over a third of your solid fuel source. By slowing down the airflow to the body of the fire, Firemizer reduces the burn-rate. Its stainless-steel-alloy mesh evenly distributes the heat across the entire base of your wood or coal-burning stove or fireplace. Simply place beneath your solid fuel and leave inside your stove or fireplace. Firemizer will help your fuel to burn more evenly, ensuring none of it is wasted. It immediately starts helping you save on energy bills from the second it’s placed under your fire until the end of its lifespan (around 500 burn hours, one season). Through the reduction of creosote tars, it also ensures that overall chimney maintenance will be far less extensive.

Are there any other benefits?

Firemizer is a helpful tool in the battle against climate change; non-catalytic, chemical-free has entirely recycled cardboard packaging. It reduces general air pollutants by 72%, meaning there is a significant reduction in gases emitted by solid fuel fires.

What if I’m still unsure?

Of course, Firemizer’s benefits seem too good to be true, which is why we offer a money-back guarantee – we’re that confident! If you haven’t seen any improvements, simply contact us (regional details found on respective websites). We can offer a replacement Firemizer or a full money-back refund, so there’s really nothing to lose.


Pick up a Firemizer today and start burning better fires and saving money this winter.

Chiminea Safety Tips!

Chiminea Safety Tips!

The fourth and final outside fire-appliance is the beautiful chiminea! Chimineas have been found in gardens for nearly half a century. Mainly used for central heating, their early designs can be traced back to Spain or Mexico. Traditionally placed near a window, the long neck of the design prevented smoke from collecting inside. Here are a few more safety tips to make sure you have safe and soothing summer evenings.

Stability

First of all, make sure the chiminea is sturdy and not likely to tip over. Three/four legged stands are available, and a foundation of brick will decrease the possibility of fire spreading.

Location

Watch out for any low-hanging ornaments or branches. The chiminea should be in its own area, and a safe distance away from your home.

Preparation

When starting your fire, do not use chemicals like kerosene or lighter fluid to start the fire. In addition to the harmful gases they produce, but the fires are far more unpredictable and difficult to contain. Instead, use a firestarter and kindling, with newspaper balls to allow the fire to burn slowly downwards. Firebuilder is a firelighter and kindling-in-one, and does not use any chemicals. Made out of recycled cardboard, the unique airflow technology allows the fire to start at a quick but manageable speed.

Top-down Method

The Top-Down Method is the safest and most effective way to start a fire in a chiminea. For a step-by-step guide, refer to the Firemizer FAQs here.

Distance

Keep a safe distance between you and the chiminea as the outside surface is likely to get very hot. Also keep a watchful eye on any pets or young children that could accidentally come into contact with the structure.

Watch

Finally, don’t leave any fire unattended. Most of all, make sure the chiminea is always in view, and that you have a bucket or water or hose handy.

How to make the perfect pizza using your Pizza Oven!

This week’s focus is the mighty garden appliance – the pizza oven! If you’re lucky enough to have one of these incredible structures at home, now is the time to use it. Not only does it provide a great opportunity to invite friends over, it produces some excellent, restaurant-quality pizza. And really – who doesn’t love pizza? Make it as meaty as you like, smother it in veggies, give it a spicy kick or keep it simple. There’s a combination of pizza toppings for everyone out there. This week, we’re going to be giving you some simple steps to creating the perfect pizza with your pizza oven.

Get it hot!

Firstly, you need to make sure your pizza oven is at the right temperature to cook the pizza thoroughly, and since you’ll be cooking with wood traditionally, this could take some time. Using a Firebuilder will get your fire started easier and quicker, and doesn’t require the use of chemicals like kerosene. It differs from pizza oven to pizza oven, but generally it should be at about 300°C – 570°F.

Make the best base!

Regardless of if you’re using a pre-made base or have made your own from scratch, don’t smother it in sauce. Leave space at the rim for the crust to raise, and evenly spread the cheese and toppings. Have fun with the toppings too – try out interesting new combinations, you never know what could work!

Give it a spin!

Because of the dome-like structure of the pizza oven, a lot of the heat output is directed towards the back. While the pizza is cooking, make sure to spin the base by 180° every few minutes. This will ensure the pizza is cooked evenly, and you won’t be left with any raw dough or toppings. Make sure you’re using heat-proof gloves, safety first!

Timing is everything!

Unlike a gas oven, at the right temperature cooking in a pizza oven will only take up to five minutes. Check to see if the cheese is bubbling and slightly browned but not burned. The outside crust should be slightly brown and crunchy, but the inside should be soft and with a brown underneath. If you’re cooking multiple pizzas, make sure the oven stays at that perfect temperature. Placing a Firemizer on the base will help the wood to burn more evenly and efficiently, and keep that temperature higher for longer. It will also preserve the life of the wood inside the oven, meaning less trips back to the wood store.

Chimney Sweep FAQs

How often should I have my chimney cleaned and maintained?

This week’s blog topic is the importance of keeping chimneys well maintained and clean after continual use. A good rule of thumb is to have your chimney cleaned by a certified professional at least once a year. If it is more often than not the prime source of heating in your house, you might want to consider having it swept more. Ask your chimney sweep for their advice on how often it should be serviced. Do not ever attempt to clean the chimney yourself – you could end up doing causing damage to your chimney. It’s important to call a certified chimney sweep as they know the typical signs of creosote build-up and nesting wildlife.


Why is it important to have my chimney cleaned and maintained?

The continual maintenance of your chimney is central to its efficiency and heat output. The chimney sweep aims to remove all the creosote build-up on the inside of the chimney to prevent chimney fires. Creosote is a highly flammable substance that results from the regular burning of certain types of wood (especially pine). Using Firemizer with your solid fuel is proven to reduce creosote by 57% and helps your fuel burn 38% longer. By having your chimney properly maintained, it ensures that you’re getting the most out of your fireplace or stove. There’s no fear of chimney fires, a release of harmful gasses or any unexpected wildlife nesting inside. Animals like birds, squirrels or small insects can also cause long-term damage to the structural stability of the chimney.


When should I start thinking about servicing my chimney?

A year between each service is recommended, and the best time to get it serviced is before the burning season. Anytime during the summer or early autumn is ideal to make sure your chimney is in perfect shape once the weather turns colder. Seek out your local chimney sweeps and book in early to ensure you’re getting the most out of your chimney.

Scroll to top
Select your currency
$ United States (US) dollar
Euro